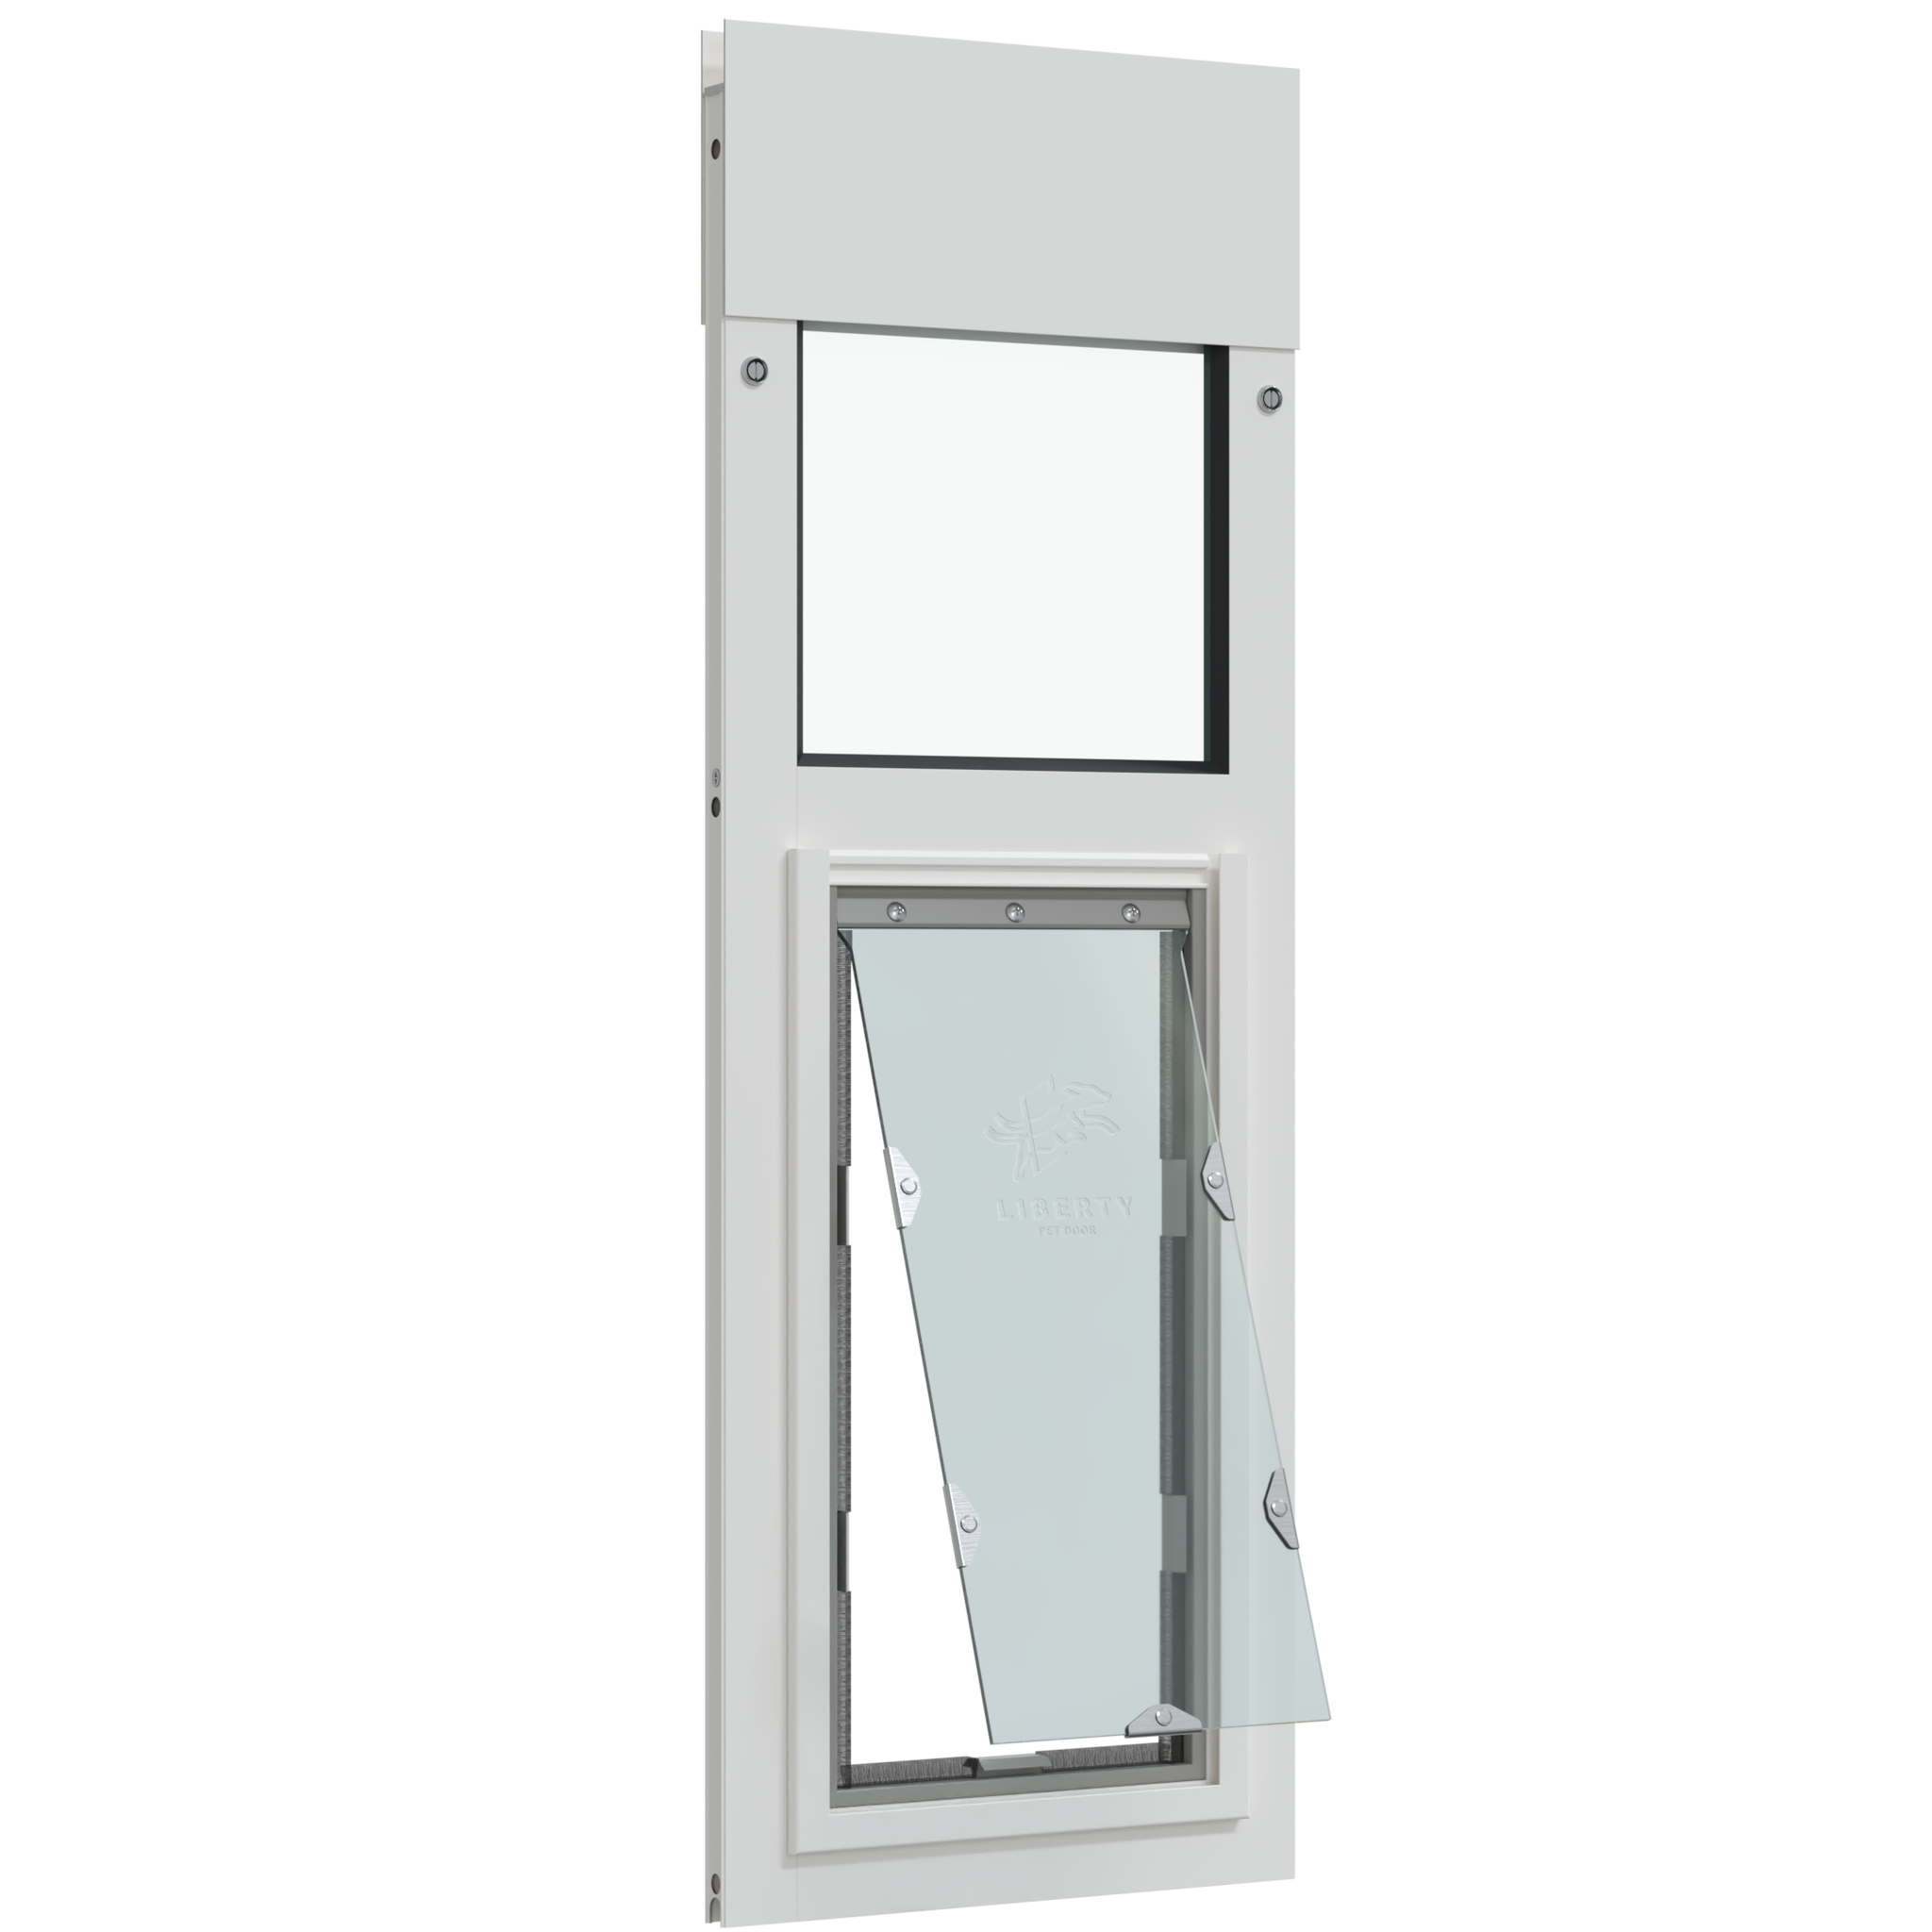
Product Details
The Liberty Cat Door for White Horizontal Sliding Windows is the a perfect fusion of style, functionality, and energy efficiency. This cat door is specifically designed to adapt to various horizontal sliding window sizes, offering adjustable heights from 34 inches up to 60 inches. It is the ideal solution for cat owners who need a reliable pet access option without compromising their home's security and aesthetic.
Constructed with clear safety glass, the Liberty Cat Door provides excellent insulation, helping to maintain a comfortable indoor temperature throughout the year and lowering energy costs. The weather-resistant flap ensures durability and functionality in all weather conditions, providing a secure and comfortable passage for your cat.
Installation is straightforward, thanks to the spring-loaded mechanism that requires no permanent alterations to your window. This design makes the Liberty Cat Door particularly appealing to renters and those who prefer not to make permanent changes to their living space. Whether you choose the robust aluminum frame (installs into window tracks at least 1" wide) or the sleek vinyl option (installs into window tracks at least 1.25" wide), both materials promise longevity and style.
The Liberty Cat Door also prioritizes security with its sturdy locking cover, which allows you to manage your pet's access as needed. This feature is essential for those looking to add an extra layer of security to their home, ensuring that convenience does not compromise safety.
Proudly made in the USA, the Liberty Cat Door stands out for its commitment to quality and customer satisfaction.
Features:
-
Versatile Fit for Various Windows: Designed to fit a broad range of horizontal sliding window heights, ensuring a seamless integration into your home.
-
Superior Climate Control: Utilizes energy-efficient materials to keep your home comfortable and reduce energy costs.
-
Non-permanent Installation: Allows for an easy and reversible setup, making it perfect for temporary housing or rental properties.
-
Robust Construction: Choose between an aluminum frame for maximum durability or a vinyl frame for a cost-effective, stylish option.
-
Enhanced Security Features: Includes a locking mechanism to control pet access and secure your home against intrusion.
 Size Chart
Find The Best Pet Door Size For My Pet
- /products/cat-window?variant=46583433330917
- /products/cat-window?variant=46583433363685
- /products/cat-window?variant=46583433396453
- /products/cat-window?variant=46583433429221
- /products/cat-window?variant=46583433461989
- /products/cat-window?variant=46583433494757
- /products/cat-window?variant=46583433527525
- /products/cat-window?variant=46583433560293
- /products/cat-window?variant=46583433593061
- /products/cat-window?variant=46583433625829
- /products/cat-window?variant=46583433658597
- /products/cat-window?variant=46583433691365
- /products/cat-window?variant=46583433724133
- /products/cat-window?variant=46583433756901
- /products/cat-window?variant=46583433789669
- /products/cat-window?variant=45510316589285
 Installation Instructions
 Difficulty
Easy
Difficulty
Easy
 Steps
04
Steps
04
 Time Required
0.5 hours
Time Required
0.5 hours
 Sections
02
Sections
02
 Flags
02
Flags
02
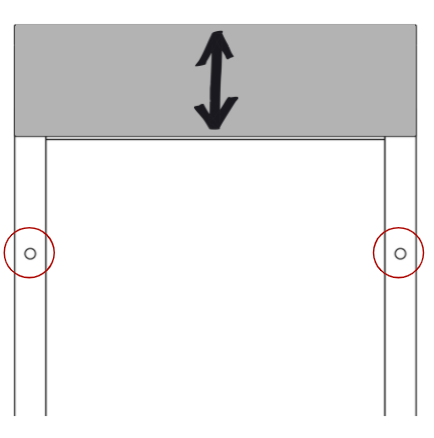
Step 1
Release Spring Mechanism
- Loosen the height adjustment locks at the top of the pet panel with the screwdriver. This allows the spring mechanism to move freely up and down.
Step 2
Check Panel Fit
- To insert the panel into the top track, push up against the spring mechanism and swing the bottom of the panel up and over the threshold. Seat the panel on top of the small guide rail in the track.
- You want to put the pet door in your track before applying any weather-stripping to ensure it fits.
- If the panel fits well, proceed to the next step. See the FAQs if you have trouble.
Step 3
Apply Weather-stripping
- Once you're sure the panel fits, remove it from the frame and lay it on its side on the ground.
- For foam weatherstripping: Peel the backing off the foam weatherstripping. Press it along both edges of the panel, trimming as needed with scissors to ensure a snug fit.
- For rubber weatherstripping: Clean the edge of your sliding door or window with rubbing alcohol to help the weatherstripping stick properly. Starting at the top or bottom, peel and press the strip into place with the folded edge facing indoors—align angled cuts if you have two pieces. For best results, apply the seal to the sliding door or window, but it can go on the pet door panel if needed.
- Foam weatherstripping is applied onto both sides of the panel, but the rubber weather stripping only applies on the side of the slider door. Your panel will come with one type of weather stripping. You do not need both types.
Step 4
Install Center Post Weather Seal
- The center post weather seal strip (draft stopper) should be installed on the inside of the home. It can be installed on either the back edge of the sliding window panel (Figure A) or the leading edge of the stationary panel (Figure B).
- This strip prevents air from leaking between the sliding window and the stationary panel. Trim with scissors as needed.
- Clean the edge of your window with rubbing alcohol before installing to assure a good seal.
- Place the panel back into the window, then tighten the height adjustment locks to lock it in place. Installation complete!
LOCK DETAILS
Since you likely can no longer use your window’s original lock, we have provided you with an alternative locking method to keep your home secure.
Installing the window clamp: This clamp has a screw that tightens by hand to prevent the sliding door from moving beyond the clamp’s placement. For doors manufactured with the glass slider on the inside track, the lock can usually be installed on the door’s raised track.

If you aren’t able to use the lock that comes with the panel: A great alternative to locking your sliding glass door is a Charley bar or dowel in the track. Both work off the same concept - they block the slider from opening. When engaged you cannot pull the sliding door away from the pet door panel.
 FAQ
FAQ
 Warranty
Warranty
Warranty Type: Limited.
Duration: 3 years
Coverage: Defects in materials and workmanship under standard regular use.
Exclusions:
 Customer Reviews


 Product Details